STEP 1 of 8
Open the switcher
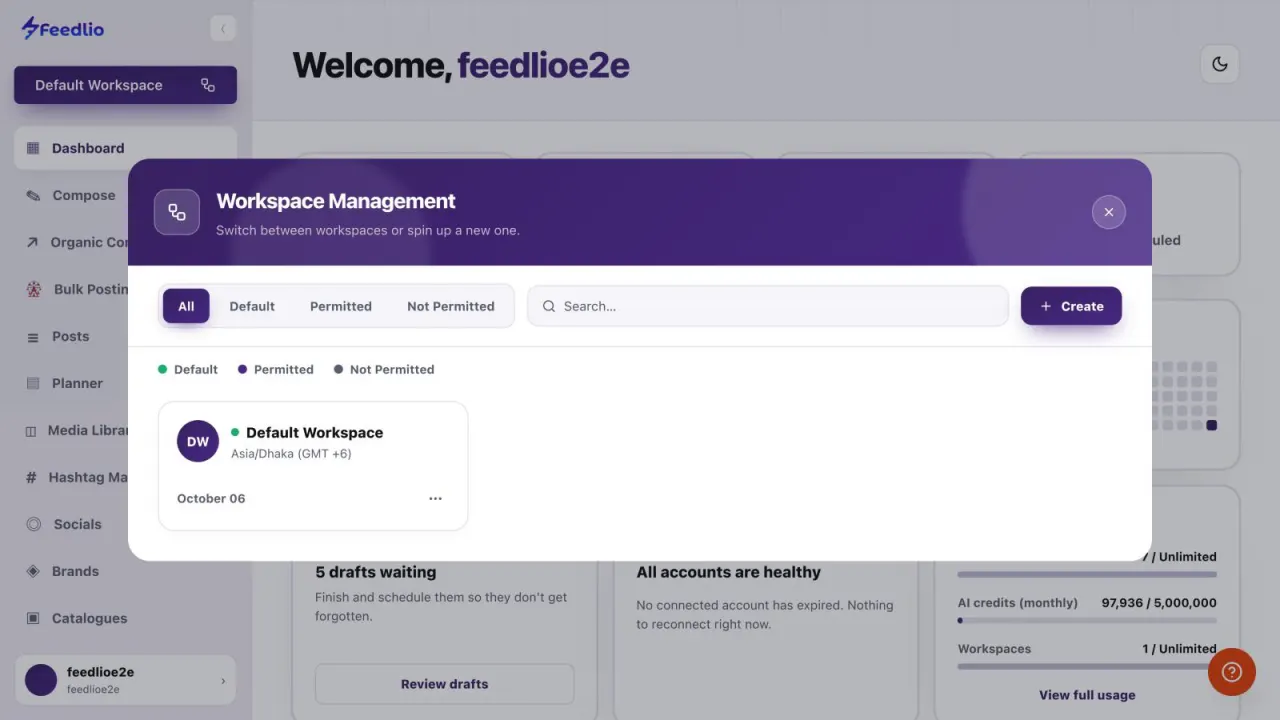
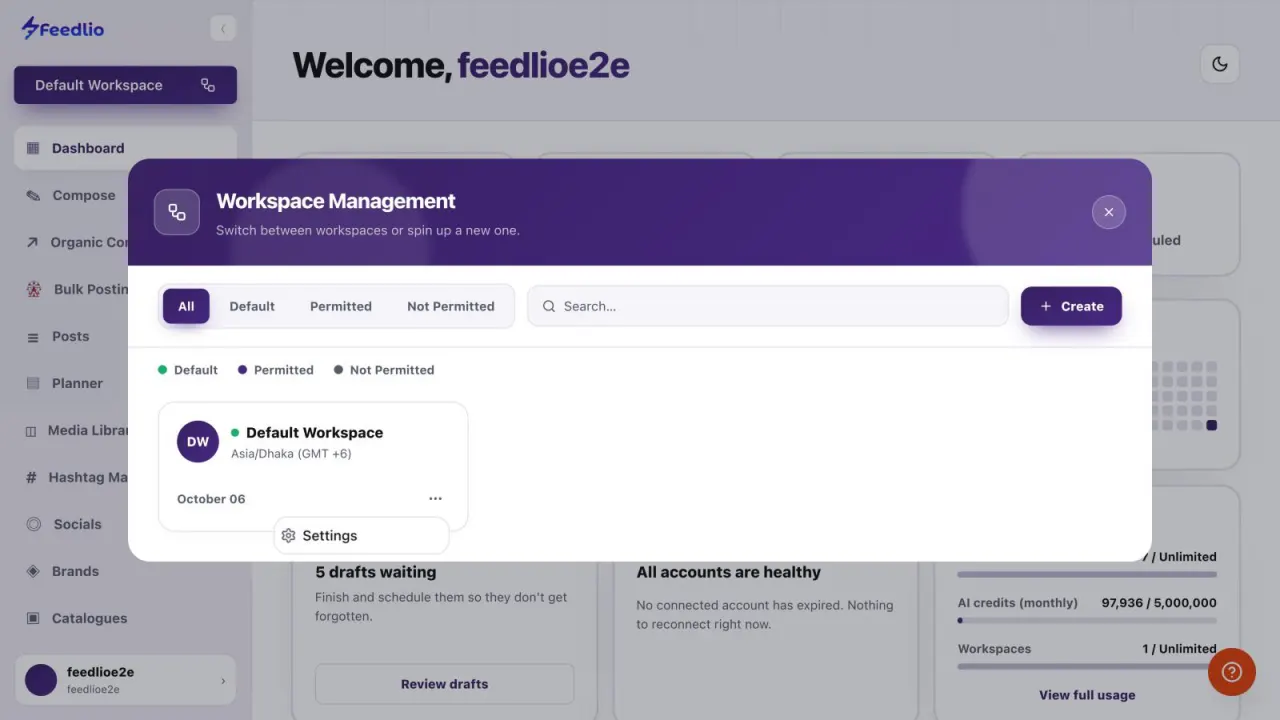
Click the workspace name at the top of the sidebar, for example Default Workspace. The Workspace Management window opens.
feedlio.io/dashboardClick to zoom
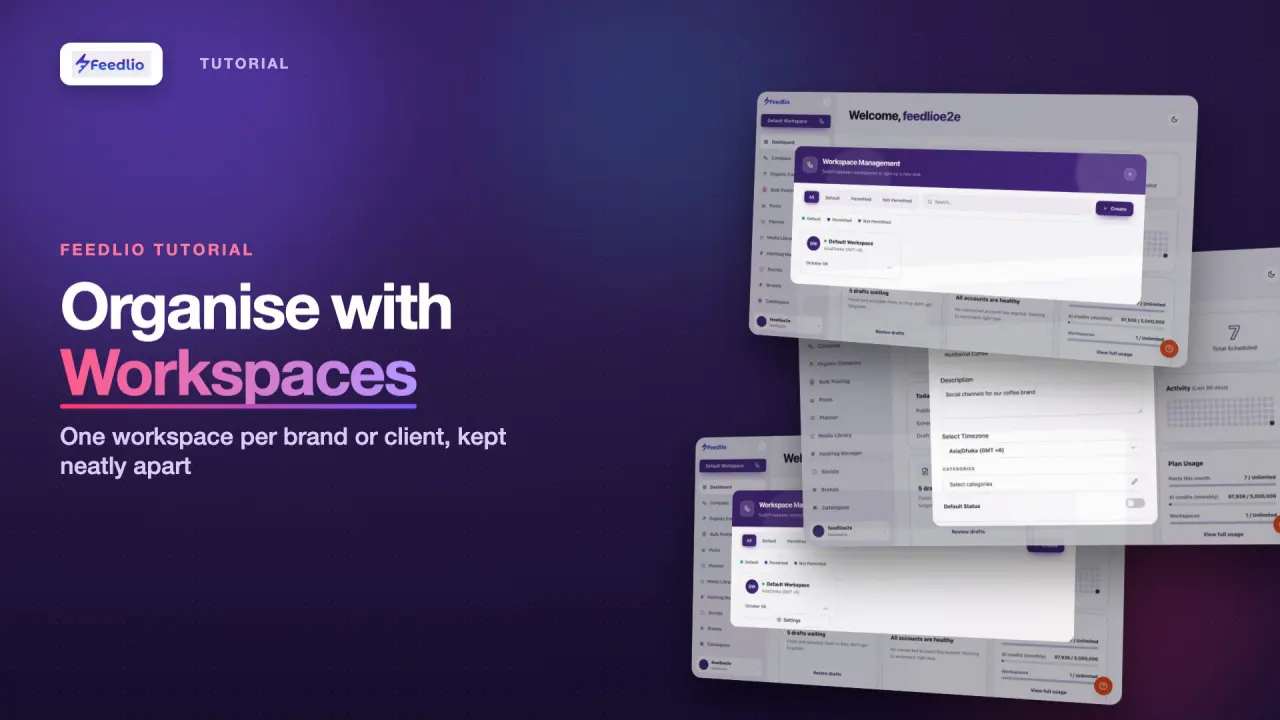
Keep each brand or client in its own workspace. Switch between workspaces, create new ones, and set the time zone their posts are scheduled in.
 Video coming soon
Follow along in the app. Tick each step off as you go.
Click the workspace name at the top of the sidebar, for example Default Workspace. The Workspace Management window opens.
Use the All, Default, Permitted and Not Permitted tabs to filter the list, or type a name into Search… to find a workspace.
Each card shows a workspace's name and time zone. Click a card to switch to it. Everything you see in Feedlio then belongs to that workspace.
To add a workspace for a new brand or client, click Create.
In Create New Workspace, enter a Name and an optional Description so your team knows what the workspace is for.
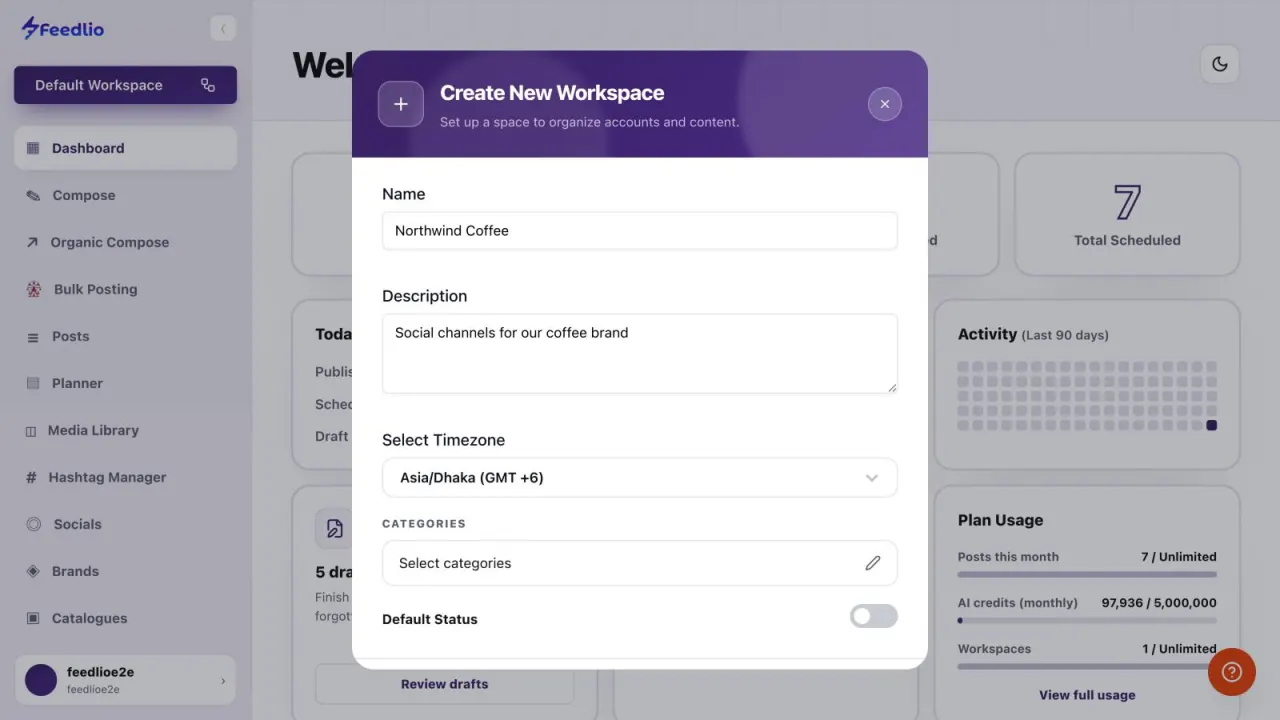
Under Select Timezone, choose the time zone your audience lives in. Then click Select categories and pick the categories that describe the brand.
Pick where your audience is, not where you are. Compose shows this time zone whenever you schedule a post.
Turn on Default Status if this should be the workspace you land in after logging in. Then scroll down and click Submit.
To rename a workspace or change its time zone later, click the ⋯ menu on its card and choose Settings.
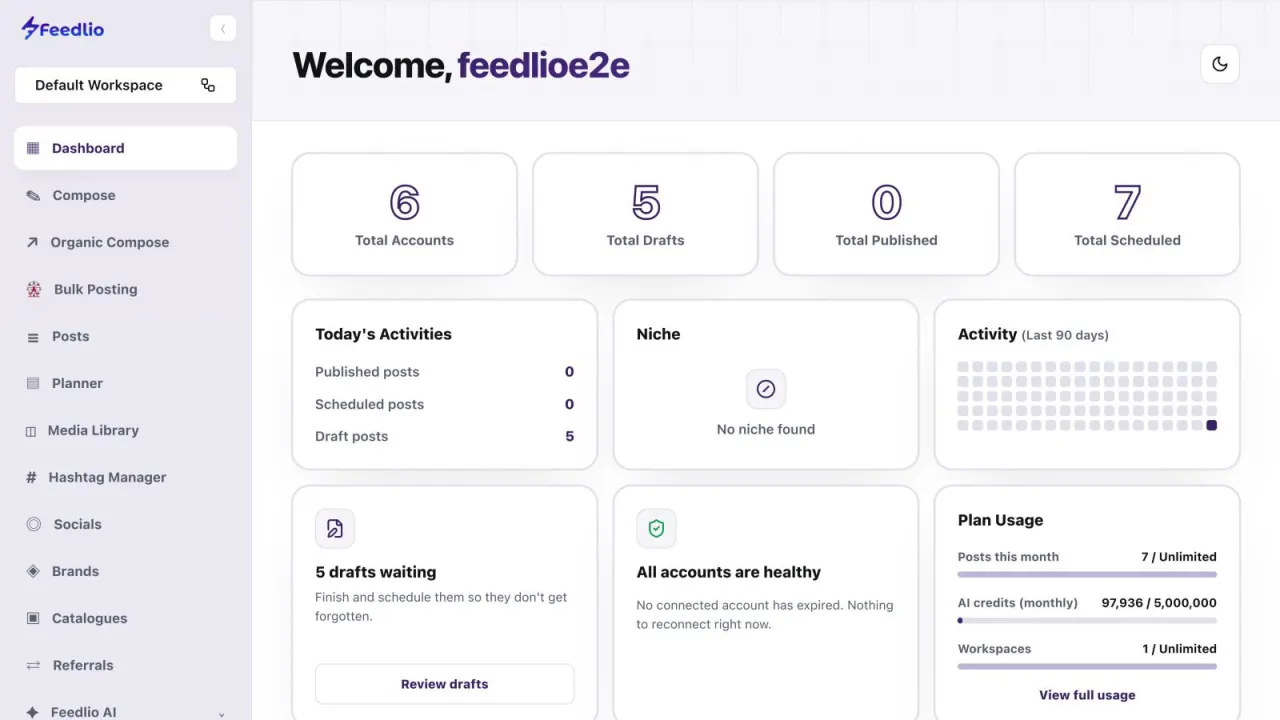
The Plan Usage card on your dashboard shows how many workspaces your plan includes and how many you've used.
Open the workspace switcher, filter or search, click a card to switch, and use Create to add a new workspace with its own time zone.
Each workspace has its own social accounts, posts and settings. Everything you see in Feedlio belongs to the workspace you have selected.
The time zone of the workspace they belong to. You choose it when you create the workspace, and each card in Workspace Management shows it.
The one with Default Status turned on. It is marked with a green dot in Workspace Management.
It depends on your plan. The Plan Usage card on your dashboard shows how many your plan includes and how many you have used.
0:00Workspaces keep every brand or client separate, each with its own social accounts, posts and settings. Let's see how to switch between them and create a new one.
0:11Click the workspace name at the top of the sidebar to open Workspace Management.
0:16Use the tabs to filter by default, permitted or not permitted workspaces, or search by name.
0:23Each card shows a workspace and its time zone. Click a card to switch to it. Everything you see in Feedlio then belongs to that workspace.
0:33To add a new brand or client, click Create.
0:37Enter a name, and an optional description, so your team knows what the workspace is for.
0:43Choose the time zone your audience lives in, because every scheduled post uses it. Then pick categories that describe the brand.
0:52Turn on Default Status if this should be the workspace you land in after logging in. Then scroll down and click Submit.
1:00To rename a workspace or change its time zone later, open the three-dot menu on its card and choose Settings.
1:08Pro tip: the Plan Usage card on your dashboard shows how many workspaces your plan includes, and how many you've used.
1:16Recap: open the workspace switcher, filter or search, click a card to switch, and use Create to add a new workspace with its own time zone.
1:26Your brands are now nice and tidy. In the next video, we'll take a tour of your dashboard.